
Fix ITMS-90683 in FlutterFlow: Mic Purpose String
You added a mic button so users could talk to your WidgetChat support assistant instead of typing. You hit Deploy to App Store, and before a human reviewer ever launched the app, App Store Connect sent this back:
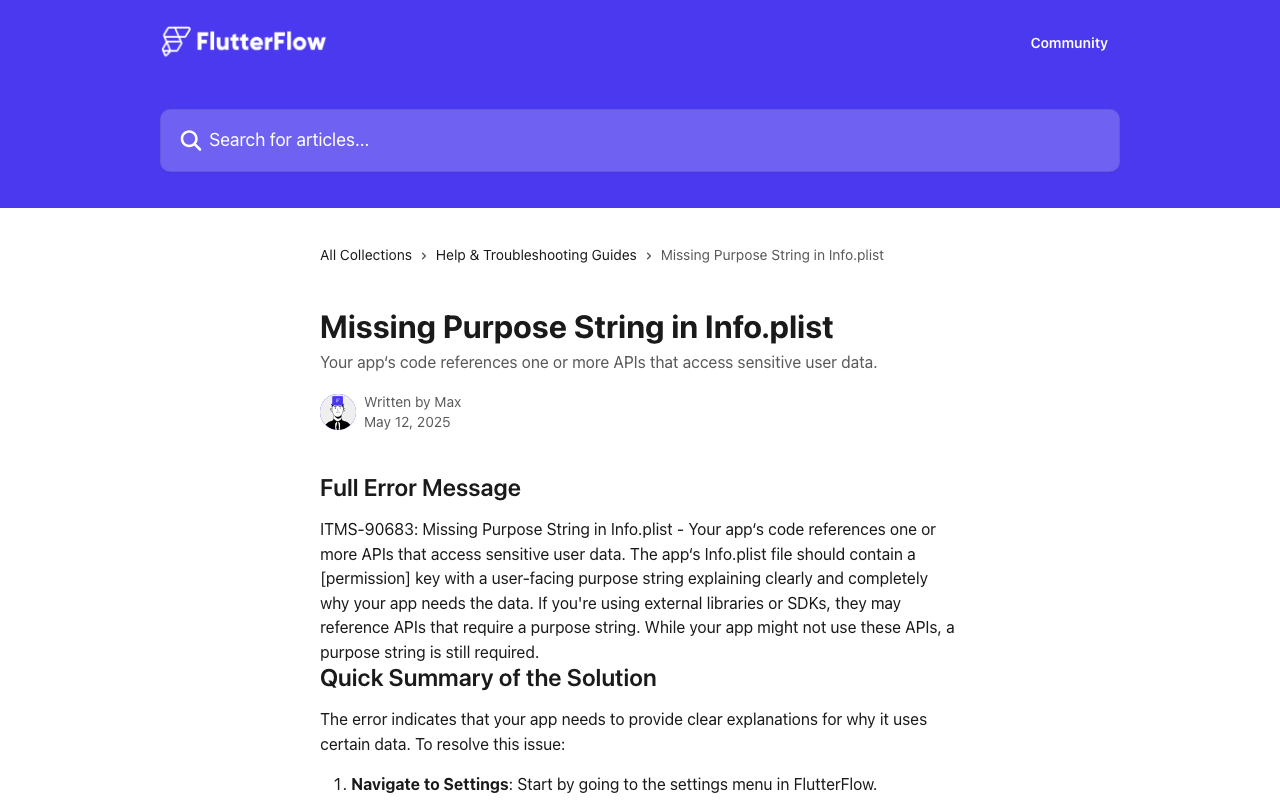
ERROR ITMS-90683: Missing purpose string in Info.plist. Your app's code
references one or more APIs that access sensitive user data. The
Info.plist file should contain a NSMicrophoneUsageDescription key with a
user-facing purpose string explaining clearly and completely why your app
needs the data.
This is not a permission bug. Nobody denied anything. Your binary never ran.
Upload-time audit vs. runtime denial: two different failures
ITMS-90683 comes from a static audit Apple runs against your uploaded IPA during processing. It scans which system APIs your compiled binary and every linked plugin reference. If anything touches AVAudioSession / AVAudioApplication and NSMicrophoneUsageDescription is absent from Info.plist, processing fails and the build is marked invalid. You get an email, not a review rejection.
Two consequences most ITMS-90683 flutterflow threads miss:
- It fires even if you never call the mic. FlutterFlow pulls in
audio_sessionfor ordinary sound playback, and that alone links the audited APIs — this is a known FlutterFlow issue. Adding a WidgetChat voice call just makes it unavoidable. - Same missing key, different symptom at runtime. If your build uses Swift Package Manager (Flutter 3.24+),
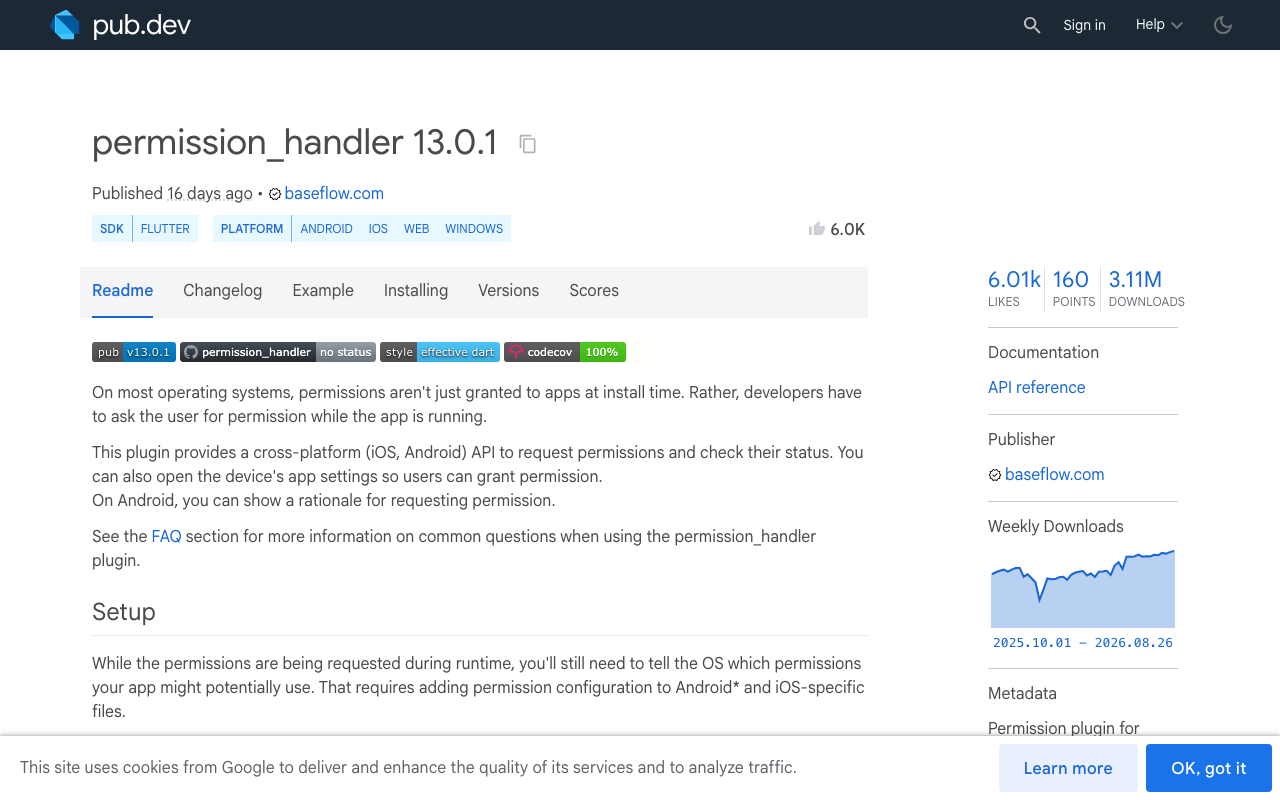
permission_handler's manifest "locates your app'sInfo.plistfiles and enables a permission when the matchingNS*UsageDescriptionkey is present." No key means the microphone permission is compiled out entirely and every check reportsdenied— no system dialog ever appears. So the mic button that "does nothing" in your TestFlight build and the upload rejection are the same root cause.
That second point is why pasting the key in and moving on is not enough: you need to confirm the dialog actually appears before you resubmit.
Step 1: add the purpose string in FlutterFlow
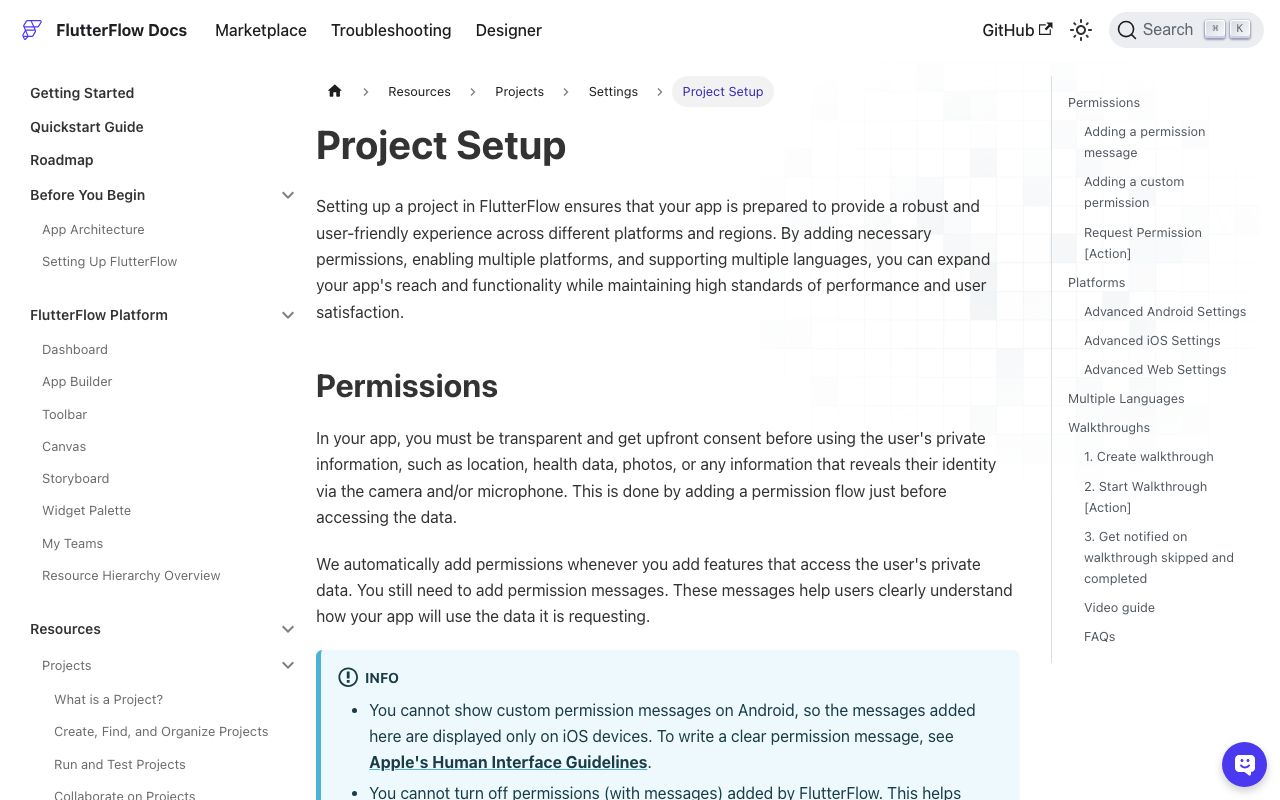
Don't hand-edit Info.plist first. FlutterFlow owns the generated iOS project, and the Permissions panel is what writes into it:
Settings & Integrations → Project Setup → Permissions → Microphone → toggle on → enter the message.
Per FlutterFlow's docs, "FlutterFlow automatically adds permissions whenever you add features that access the user's private data, and the only thing left for you is to add the permission messages" — and you "cannot turn off permissions (with messages) added by FlutterFlow," specifically to prevent app review issues. If the Microphone row is already on but the message field is blank, that blank is your ITMS-90683.
The panel also takes custom entries, which you need if your build links the Speech framework. Add:
- iOS Permission key:
NSSpeechRecognitionUsageDescription - Android Permission name:
RECORD_AUDIO - Permission Message: your purpose string
Rebuild after saving. The generated plist should contain:
<key>NSMicrophoneUsageDescription</key>
<string>Acme Support uses your microphone only while you are in a voice
call with the in-app support assistant, so you can ask questions out loud
instead of typing. Audio is sent to our support service to answer you and
is not recorded when the call ends.</string>

<!-- only if your build links the Speech framework -->
<key>NSSpeechRecognitionUsageDescription</key>
<string>Acme Support converts your spoken questions to text so the support
assistant can answer them during a voice call.</string>
If you export code and manage the Podfile yourself, also confirm 'PERMISSION_MICROPHONE=1' is present in the post_install GCC_PREPROCESSOR_DEFINITIONS block. Under CocoaPods the macros are yours to set; under SPM the Info.plist key above is what switches it on.
Step 2: write a purpose string Apple accepts
"This app requires access to the microphone." clears ITMS-90683 and then gets you rejected under Guideline 5.1.1 instead. Apple requires purpose strings to describe the use "clearly and completely," and generic strings like "App needs microphone access" are a documented rejection.
A string that survives review does four things:
- Names your app — reviewers want the alert to identify who's asking.
- Names the feature — "the in-app support assistant," not "the app."
- Says when — "only while you are in a voice call."
- Says what happens to the audio — where it goes and whether it's kept.
The missing purpose string info.plist flutterflow fix takes 30 seconds; writing the sentence that passes review is the part worth spending five minutes on.
Step 3: request the mic on tap, not at launch
Requesting the microphone during app startup is the fastest way to turn an flutterflow app store rejected microphone problem into a Guideline 2.1 one. The reviewer taps "Don't Allow" on a dialog with no context, then can't find a working feature.
Gate it on the mic tap instead. Create a custom action (requestMicForVoiceChat), add permission_handler: ^13.0.1 under Custom Code → Dependencies:
// Custom Action: requestMicForVoiceChat
// Returns true only when the mic is usable right now.
import 'package:permission_handler/permission_handler.dart';

Future<bool> requestMicForVoiceChat() async {
  var status = await Permission.microphone.status;

  // First tap: notDetermined -> shows the system alert with your
  // NSMicrophoneUsageDescription string.
  if (status.isDenied) {
    status = await Permission.microphone.request();
  }

  if (status.isGranted) return true;

  // User previously denied, or Screen Time restricts recording.
  // iOS will not show the alert again — send them to Settings.
  if (status.isPermanentlyDenied || status.isRestricted) {
    await openAppSettings();
  }

  return false;
}
Two details that matter on iOS:
- On iOS a never-asked permission reports
denied, not a separate "undetermined" state — so you must callrequest()onisDeniedor the dialog never fires. - After the first denial,
request()returns immediately without any UI.openAppSettings()is the only recovery path, and shipping without it is what produces the silent dead-end a reviewer will write up.
Wire it in the action chain on your mic button: Custom Action → requestMicForVoiceChat → Conditional. On true, start the WidgetChat voice call. On false, show a bottom sheet explaining what the assistant does with the mic and offering a "Type instead" button that opens the same conversation as text — the reviewer then always has a working path.
Before the request, show your own explainer sheet ("Talk to support — tap to speak, interrupt any time"). Users who understand the ask grant it far more often, and you only get one shot at the system dialog.
Step 4: confirm the widget itself is wired
If voice still fails after the permission is granted, rule out the transport before blaming iOS. The text path uses the same conversation and dashboard, and a quick call proves your project is reachable:
final req = http.Request(
  'POST',
  Uri.parse('https://api.widgetchat.app/v1/chat/stream'),
)
  ..headers.addAll({
    'Authorization': 'Bearer $widgetChatApiKey',
    'Content-Type': 'application/json',
    'Accept': 'text/event-stream',
  })
  ..body = jsonEncode({'message': 'ping from ios build'});

final res = await req.send();
await for (final line in res.stream
    .transform(utf8.decoder)
    .transform(const LineSplitter())) {
  if (line.startsWith('data: ')) print(line.substring(6));
}
Token-by-token data: frames back means your credentials and network are fine and the problem is genuinely the mic. Also check Voice in your WidgetChat dashboard — voice is plan-gated by a monthly voice-minute pool and can be disabled per project, and an exhausted pool looks exactly like a broken mic from inside the app.
Step 5: tell the reviewer where the mic button is
Guideline 2.1 rejections are frequently just "we couldn't find the feature." Paste this into App Review Information → Notes:
Voice support assistant (microphone use)
1. Sign in with the demo account above.
2. Tap the chat bubble, bottom right of the Home tab.
3. Tap the microphone icon in the chat header.
4. Tap "Allow" on the microphone prompt, then speak — e.g.
   "How do I reset my password?"
The assistant answers out loud with live captions on screen. You can
interrupt it mid-sentence and it will stop and listen.
Audio is used only during the call to answer support questions.
Microphone access is requested only when the mic icon is tapped.
Tapping "Don't Allow" keeps the assistant fully usable as text chat.
That last line does real work: it tells the reviewer that denying the permission is a supported path, not a bug they should report.
The checklist
- Microphone enabled with a message in Settings & Integrations → Project Setup → Permissions
- Purpose string names the app, the assistant, when, and what happens to the audio
-
NSSpeechRecognitionUsageDescriptionadded if your build links the Speech framework - Mic requested on tap, never at launch
-
openAppSettings()handlespermanentlyDenied - Text chat remains reachable when the mic is denied
- Build number incremented before re-upload (a rejected build number cannot be reused)
- Review notes name the exact taps to reach the mic
Fixing flutterflow voice chat permission ios is really three separate fixes: the plist key clears the upload, the purpose string clears review, and the on-tap request makes the feature demonstrable. Skip any one and the build comes back.
Try WidgetChat free
WidgetChat drops an AI support chatbot into your Flutter or FlutterFlow app — streaming text over SSE, and real-time speech-to-speech voice with barge-in, live captions, and on-screen product cards in the same widget. Provider API keys stay server-side, and it works across iOS, Android, and web. Try WidgetChat free.

Comments
Comments are coming soon. We'd love to hear your thoughts!