
Flutter Voice AI Status UI: Listening, Speaking, Barge-In
You added a live voice call to your Flutter app — the user taps the mic, the assistant talks back, and it even handles interruptions. Great. But on screen it's a mystery: is it my turn, or is the assistant still talking? Did it hear me when I cut in? Without a clear Flutter voice assistant listening/speaking indicator, users double-talk, repeat themselves, and tap the mic twice.
The fix isn't a heavyweight voice-activity-detection (VAD) model bolted onto your app. It's a small, boring, correct state machine plus a pulsing mic animation. This post shows how to build both — and, critically, how to flip the indicator the instant a user barges in over the assistant.
First, get the ownership model right
Here's the mistake that makes this hard: assuming your voice provider hands you a stream of onAssistantSpeechStarted / onUserSpeechStarted callbacks to bind your UI to.
Reality check. WidgetChat runs the voice call inside the embedded widget you already dropped into your Flutter/FlutterFlow app. It handles speech-to-speech, barge-in, and live captions itself. It does not expose a client-side turn-event API in Dart, so don't architect your indicator around an imagined callback stream. Instead, drive your custom on-screen indicator from a signal you fully own on-device. The widget stays the source of truth for the actual conversation; your indicator is a supplemental HUD you control.
That reframing is liberating. Your indicator becomes a self-contained, transport-agnostic component. You feed it signals; it renders state. The one signal you can always generate locally, without any provider hooks and without a 50 MB VAD model, is microphone input level.
The state machine
Model the call as four phases. Keep it in a ChangeNotifier so any widget can listen.
enum CallPhase { idle, connecting, listening, speaking }

class VoiceCallStatus extends ChangeNotifier {
  CallPhase _phase = CallPhase.idle;
  CallPhase get phase => _phase;

  void _set(CallPhase next) {
    if (_phase == next) return;
    _phase = next;
    notifyListeners();
  }

  void onConnecting() => _set(CallPhase.connecting);
  void onCallEnded() => _set(CallPhase.idle);

  /// The assistant has taken the floor and is talking.
  void onAssistantSpeaking() {
    // Never stomp a live user turn — the human always wins the mic.
    if (_phase == CallPhase.listening) return;
    _set(CallPhase.speaking);
  }

  /// User voice energy crossed / dropped below threshold.
  void onUserSpeech({required bool active}) {
    if (active) {
      _set(CallPhase.listening); // start-of-turn OR barge-in
    } else if (_phase == CallPhase.listening) {
      _set(CallPhase.speaking);  // user paused, floor returns to assistant
    }
  }
}
The barge-in rule lives in exactly one place: onUserSpeech(active: true) sets listening regardless of the current phase. It doesn't matter if the assistant was mid-sentence — the moment user energy appears, the UI says Listening…. And onAssistantSpeaking() refuses to override a live user turn. That single asymmetry is what makes the voice AI barge-in UI feel honest instead of laggy.
Generating the user-speech signal without a VAD model
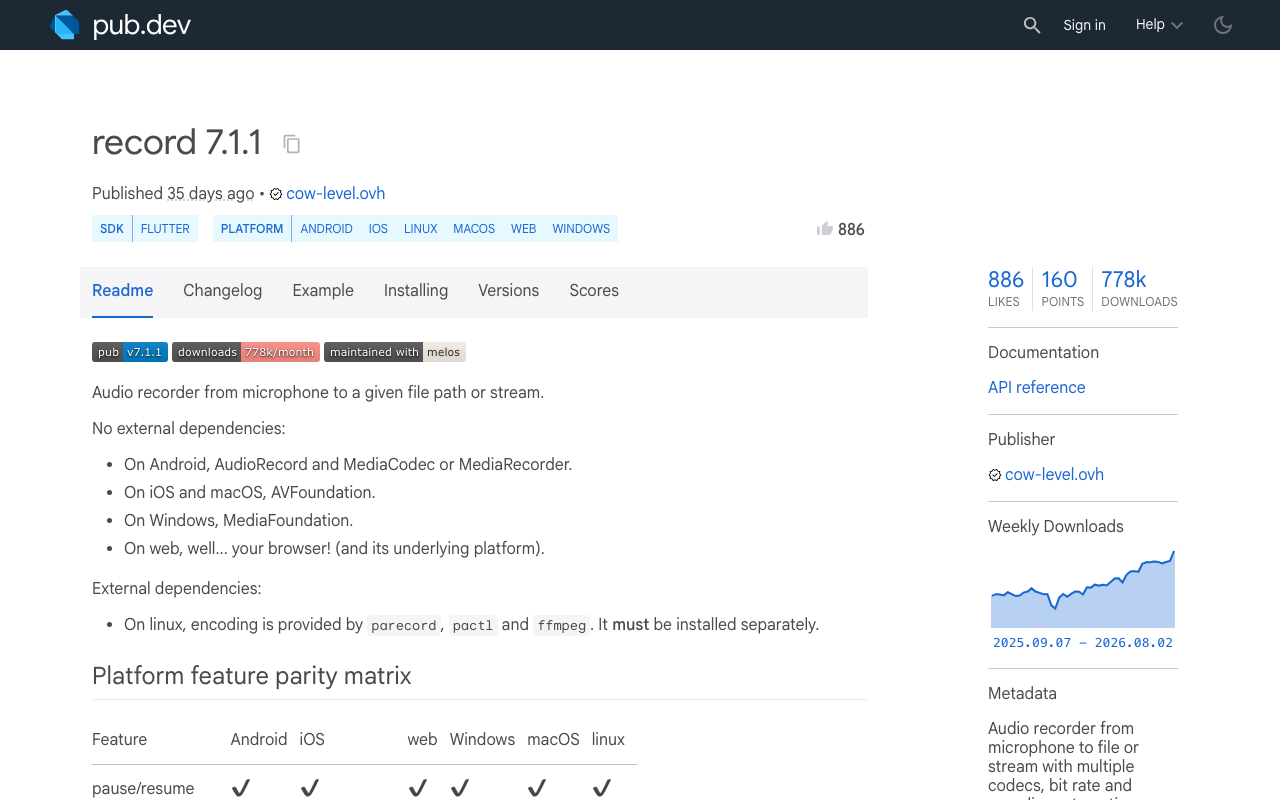
You don't need to classify phonemes. You need to know "is there voice energy right now?" A simple amplitude threshold with hysteresis does the job. The record package (v7.x) exposes exactly this via onAmplitudeChanged, which streams an Amplitude with a current value in dBFS (roughly -160 at silence up to 0 at max).
import 'package:record/record.dart';

final _recorder = AudioRecorder();
StreamSubscription<Amplitude>? _ampSub;

Future<void> startLevelMonitor(VoiceCallStatus status) async {
  if (!await _recorder.hasPermission()) return;

  // Two thresholds create a hysteresis gap so the label doesn't flicker
  // on every tiny pause between words.
  const onThreshold = -30.0;  // dBFS: user is clearly speaking
  const offThreshold = -42.0; // dBFS: back to quiet
  bool speaking = false;

  _ampSub = _recorder
      .onAmplitudeChanged(const Duration(milliseconds: 150))
      .listen((amp) {
    if (!speaking && amp.current > onThreshold) {
      speaking = true;
      status.onUserSpeech(active: true);   // barge-in fires here
    } else if (speaking && amp.current < offThreshold) {
      speaking = false;
      status.onUserSpeech(active: false);
    }
  });
}

Future<void> dispose() async {
  await _ampSub?.cancel();
  await _recorder.dispose();
}
Two honest caveats. First, on most platforms record needs an active capture session for amplitude, so this DIY monitor is best when you're not already contending for the mic — if your embedded voice call owns the microphone, don't open a second competing recorder; instead call status.onUserSpeech(...) from wherever your own call logic already knows about turns. Second, tune the thresholds per device and environment; -30/-42 dBFS are sane starting points, not gospel. The 12 dB gap is the important part — it kills the flicker.
The pulsing mic / waveform
Now the fun part: a Flutter animated mic waveform that visibly breathes while active. Use an AnimationController with repeat(reverse: true) and an AnimatedBuilder so only the indicator rebuilds — not your whole call screen.
class MicPulse extends StatefulWidget {
  final bool active;
  final Color color;
  const MicPulse({super.key, required this.active, required this.color});
  @override
  State<MicPulse> createState() => _MicPulseState();
}

class _MicPulseState extends State<MicPulse>
    with SingleTickerProviderStateMixin {
  late final AnimationController _c = AnimationController(
    vsync: this,
    duration: const Duration(milliseconds: 700),
  );

  @override
  void initState() {
    super.initState();
    if (widget.active) _c.repeat(reverse: true);
  }

  @override
  void didUpdateWidget(MicPulse old) {
    super.didUpdateWidget(old);
    if (widget.active && !_c.isAnimating) {
      _c.repeat(reverse: true);
    } else if (!widget.active) {
      _c.stop();
      _c.value = 0;
    }
  }

  @override
  void dispose() { _c.dispose(); super.dispose(); }

  @override
  Widget build(BuildContext context) {
    return AnimatedBuilder(
      animation: _c,
      builder: (_, __) {
        final scale = 1.0 + (_c.value * 0.35);
        return Container(
          width: 64 * scale,
          height: 64 * scale,
          decoration: BoxDecoration(
            shape: BoxShape.circle,
            color: widget.color.withOpacity(0.15 + _c.value * 0.2),
          ),
          child: Icon(Icons.mic, color: widget.color, size: 28),
        );
      },
    );
  }
}
Wiring it into one status bar
A single AnimatedBuilder on the VoiceCallStatus maps each phase to a label, color, and whether the pulse animates:
AnimatedBuilder(
  animation: status,
  builder: (context, _) {
    final (label, color, pulsing) = switch (status.phase) {
      CallPhase.idle       => ('Tap to talk', Colors.grey, false),
      CallPhase.connecting => ('Connecting…', Colors.amber, false),
      CallPhase.listening  => ('Listening…',  Colors.green, true),
      CallPhase.speaking   => ('Speaking…',   Colors.blue,  true),
    };
    return Row(
      mainAxisSize: MainAxisSize.min,
      children: [
        MicPulse(active: pulsing, color: color),
        const SizedBox(width: 12),
        Text(label, style: TextStyle(color: color, fontWeight: FontWeight.w600)),
      ],
    );
  },
)
Green pulse for the user, blue pulse for the assistant, and the barge-in override in the reducer flips green over blue the instant the user's voice energy crosses the threshold. That's the whole flutter voice AI status ui — no ML, no guesswork, one source of truth.
FlutterFlow note
Same idea works for a flutterflow voice chatbot state indicator: hold CallPhase as a Custom Data Type in App State, write a Custom Action that updates it (from your mic monitor or your call logic), and bind a Custom Widget's label + animation to it. The state machine stays identical; only the plumbing changes.
Ship the voice call itself first
An indicator only matters if you have a voice call to indicate. WidgetChat gives you exactly that inside the same widget you already embed for text chat: real-time speech-to-speech, built-in barge-in, live captions, and on-screen product cards — across iOS, Android, and web, with provider API keys kept server-side. Turn it on in the dashboard's Voice section, then layer this indicator on top.
Try WidgetChat free and give your users a voice assistant they can actually follow along with.

Comments
Comments are coming soon. We'd love to hear your thoughts!